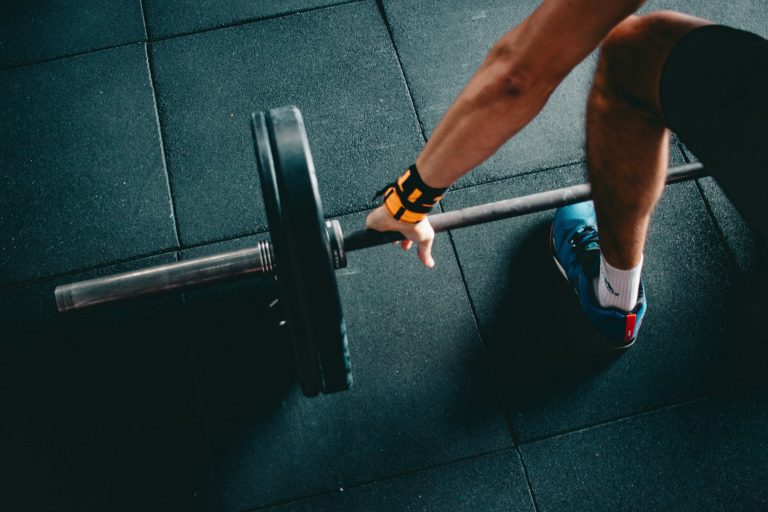
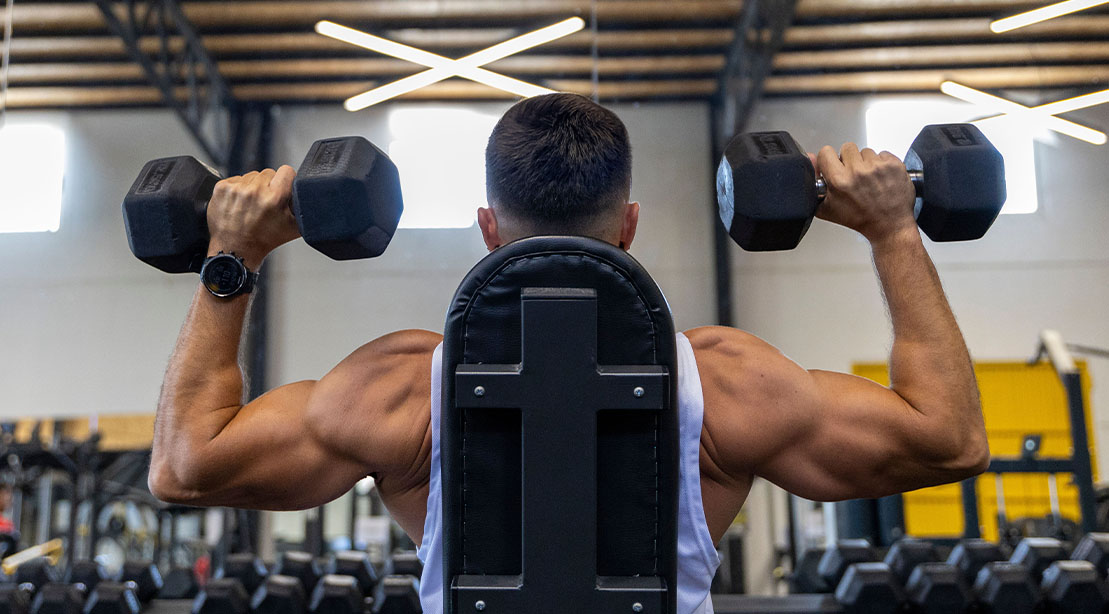
Pressing substantial weights directly overhead while maintaining proper form presents a significant challenge for many athletes. This is precisely where difficulties with achieving a solid lockout arise. Elbows tend to shift forward, the ribcage flares outward, and what begins as a strict overhead press devolves into something resembling a standing incline bench press. Although the barbell may still rise, the optimal positioning is lost, compromising your power output, shoulder integrity, and potential for sustained long-term gains.
Common Overhead Press Mistakes That Ruin Shoulder Strength
Athletes frequently attribute overhead press lockout failures to insufficient triceps strength or simply the heaviness of the load being used. However, the root cause is more often rooted in suboptimal overhead positioning. Achieving a powerful lockout demands seamless coordination between shoulder flexion, upward scapular rotation, and thoracic spine extension. When these elements fail to align without compensatory movements, undue stress accumulates in vulnerable areas of the body.
Enhancing your overhead lockout capability goes beyond mere static stretching; it involves systematically restoring the necessary mobility and neuromuscular control to properly stack the joints, maintain an upright posture, and complete each repetition with precision and authority. The following mobility exercises, curated by three seasoned coaches with extensive expertise, precisely target the mobility limitations that sabotage effective overhead lockouts. Incorporating them will empower you to press heavier weights with enhanced strength, reduced injury risk, and greater overall confidence.
Numerous problems with locking out the overhead press stem not from raw strength deficits but from flawed body positioning that even superior strength cannot fully overcome.
Beyond triceps weakness, the primary offenders include:
- Rib flaring to achieve end-range motion: When shoulder flexion falls short for full overhead reach, the lower back excessively arches, the head juts forward, and the barbell path deviates from directly over the midfoot. This transforms the lockout into a mere compensation rather than a stable, repeatable position.
- Forward elbow drift: Such movement displaces the load from the aligned joint structure, imposing extra strain on the shoulders and lumbar region.
- Shrugging as a substitute for true upward rotation: Simply elevating the shoulders does not equate to proper scapular control. This habitual shortcut undermines overhead stability and long-term shoulder resilience.
To determine if mobility constraints are the underlying issue, perform the back-to-wall shoulder flexion assessment detailed below.
The Simple Shoulder Mobility Test Every Lifter Should Do
Position yourself upright with your back fully against a wall, ensuring your head, upper back, and lower back maintain contact with the surface, while placing your feet approximately hip-width apart. Engage your core muscles firmly and gradually elevate both arms overhead until your hands make contact with the wall above.
How to Tell If Mobility Is Holding Back Your Press
Evaluate your performance against these key indicators:
- Biceps positioned alongside the ears: Inability to achieve fully vertical arm alignment without lumbar arching (detectable by separation from the wall) signals deficiencies in functional shoulder flexion and scapular upward rotation.
- Ribs remaining depressed: If the ribcage elevates or the lower back hyperextends to gain range, it indicates inadequate thoracic extension, with shoulders compensating by borrowing motion from the spine.
- Elbows achieving full extension sans shrugging: Shoulder elevation toward the ears suggests instability and lack of control in the overhead posture.
- Head maintaining neutral alignment between the arms: Necessity to tilt the neck forward or backward to complete the movement highlights the need for targeted interventions outlined subsequently.
By now, you understand the ideal mechanics of an overhead press lockout, the potential pitfalls it introduces, and a straightforward mobility test to pinpoint deficiencies. Should the assessment uncover any shortcomings, integrate one or two of the exercises described next to decisively overcome your lockout barriers.
Kneeling Bench T-Spine Extension ‘Prayer’ Stretch
Tasha Whelan, a seasoned strongman competitor who frequently contends with log presses, relies on the Kneeling Bench T-Spine Extension “Prayer” Stretch as her primary shoulder mobility tool. “This movement is specifically crafted to boost thoracic spine mobility,” Whelan notes, “while simultaneously easing tightness in the upper back and shoulder regions.”
Why Lifters Need It: This drill effectively reinstates thoracic extension, enabling overhead pressing without relying on lower back compensations. Whelan emphasizes its dual benefits:
- Facilitating more efficient scapular upward rotation and posterior tilt.
- Diminishing muscle tone and rigidity in the latissimus dorsi, upper back musculature, and the long head of the triceps.
Additionally, it refines postural alignment and respiratory patterns, both of which play crucial roles in effective core bracing and overhead stability.
How to Do Kneeling Bench T-Spine Extension Prayer Stretch
- Kneel on the ground with knees separated hip-width, positioning a bench or stable platform a short distance in front of your body.
- Place your forearms atop the bench, grasping a PVC pipe with palms oriented upward, and flex your elbows to a right angle.
- Gradually lean backward, allowing your hips to descend toward your heels, creating a subtle thoracic arch as your chest lowers toward the ground.
- Maintain the position for 20-30 seconds, inhaling deeply and exhaling to expand the ribcage while actively releasing accumulated tension.
- Return to the initial setup and perform additional rounds as necessary.
Programming Suggestions: Whelan advises adding this to your pre-workout routine for 2-3 sets lasting 20-30 seconds each, complemented by scapular activation movements like face pulls or Y-raises.
Quadruped Shoulder Controlled Articular Rotations
Quadruped Shoulder Controlled Articular Rotations (CARs) involve executing slow, intentional circular motions with the shoulders while in a hands-and-knees stance. The focus here is on mastering every available degree of shoulder motion through deliberate control, distinguishing it from passive stretching.
Why Lifters Need It: Overhead press challenges rarely arise from restricted range of motion alone but rather from inadequate end-range control. These CARs rehabilitate shoulder rotation gently, heighten proprioceptive awareness and motor control, and reveal any asymmetries between the left and right sides.
How to Do Quadruped Shoulder Controlled Articular Rotations
- Assume a quadruped stance with hands aligned under shoulders and knees under hips.
- Engage your core subtly to preserve a neutral spine, then elevate one hand from the floor.
- Guide the arm through a full circular trajectory—forward, upward, backward, and completing the loop—before reversing direction on the subsequent repetition.
- Prioritize smoothness and deliberation in every motion, then switch to the opposite arm.
Programming Suggestions: Incorporate as a dynamic warm-up or inter-set drill during overhead press preparation, executing 3–5 meticulous reps in each direction per side.
Bird Dog Band Press
Dr. Justin Farnsworth, a Doctor of Physical Therapy with two decades of coaching under his belt, frequently encounters shoulder mobility constraints and favors the Bird Dog Band Press to expand overhead capabilities. “This setup sidesteps vertical gravitational resistance,” Farnsworth explains, “making it simpler for individuals to attain full overhead range where upright positioning proves challenging.”
Why Lifters Need It: Effective scapular upward rotation is paramount, and this variation intensifies scapular demands by necessitating a secure lockout to elevate the band overhead. The quadruped format with band resistance uniquely “demands midline stability,” per Farnsworth. “Stiffness or laxity at the core midline hampers control; activating it properly transforms overhead positioning for optimal access and performance.”
How to Do Bird Dog Band Press
- Secure a light resistance band to a squat rack at approximately knee level.
- In a quadruped position, grasp the band with your right hand positioned outside the body line, ensuring initial tension.
- Simultaneously extend your left leg rearward, driving the heel against an imaginary wall.
- Execute an overhead press with the band, holding the lockout for 2 seconds.
- Return the hand to chest height controllably, complete reps, then alternate sides.
Programming Suggestions: Farnsworth suggests 12 repetitions per side as a prerequisite before handling any barbell work.
Forearm Wall Slide with Lift-Off
This advanced wall slide iteration places forearms against the wall, culminating in a deliberate lift-off at peak height. It hones shoulder flexion and scapular upward rotation—essential prerequisites for a flawless overhead press lockout.
Why Lifters Need It: Should your overhead press morph into an exaggerated lumbar extension, this drill illuminates the cause and provides correction. Forearm wall slides condition the shoulders for upward and rotational paths rather than forward drift, refining scapular control, mitigating rib flare, and highlighting flawed overhead patterns.
How to Do Forearm Wall Slide with Lift-Off
- Face a wall, resting forearms against it with elbows at 90-degree angles.
- Adopt a stance with ribs depressed and core lightly engaged.
- Elevate forearms along the wall while sustaining pressure, then at maximum height, extend upward to detach forearms for 2 seconds.
- Descend methodically, reset posture, and repeat the sequence.
Programming Suggestions: Execute 2 sets of 8 reps within your warm-up protocol or 3-4 reps interspersed between overhead pressing sets for optimal results.
Bench Pullovers
Dr. Bo Babenko, a Physical Therapist and Doctor of Physical Therapy who also competes at an elite level in CrossFit with extensive overhead demands, champions the bench pullover variation to fortify overhead lockout proficiency. “The cornerstone of this exercise lies in establishing a shoulder-dominant support setup,” Dr. Bo articulates. “This immediately recruits the glutes intensely for stability.”
Why Lifters Need It: Fully integrating the torso into overhead mechanics is vital for safeguarding and fortifying your pressing foundation. Bench pullovers instill ownership of shoulder flexion, ribcage management, and joint stacking precisely in the range where overhead presses falter. “During the overhead pull,” Dr. Bo warns, “the urge to flare the ribs will be intense, but resisting it is non-negotiable to shield your back and shoulders.”
How to Do Bench Pullovers
- Position your shoulders perpendicular across a bench, clutching a light dumbbell in one hand.
- Hip hinge to extend, depress the ribs, and commence with the dumbbell aligned beneath the shoulder.
- Deliberately lower the dumbbell posteriorly with a straight elbow, sensing a profound lat stretch.
- Upon reaching true end range absent compensations, reverse to the starting configuration, pause, and reiterate.
Programming Suggestions: Babenko endorses 3 sets of 8-10 reps both in warm-ups and cooldowns to cultivate superior motor control and retention.